so the tale of the "cute as a button" favors. these little babies turned out so cute. i mean cutesy cute cute but i do have a tale to tell. i found this idea through miss amy kelly {here} who found it through yet another blog who shared {this tutorial}. isn't that always the way?
anyway...i got in touch with amy and spoke with her about her experience making button chocolates, where she got her supplies etc. she pointed me in the right direction, i ordered online and just waited until the shower grew closer to try my hand at candy making for the first time...ever.
here's what i purchased. a button candy mold & 4 different colors of clasen candy melts. all the colors i got tasted the same but i hear that you can flavor them as well {i did not}. since this was a gender-neutral baby-fest i got yellow & orange {two prominent colors in the baby's room} and white & blue. {we used blue & pink in different aspects of the shower...i think it's fine.}
the making of the candies is actually REALLY simple. you take a handful of candy disks {i did about 18 for my mold}, put them in a microwave safe bowl and heat it up at 20-30 second intervals {stirring in between} until it was melted. it took about 1 minute & 15 seconds-ish for mine to be completely melted.
next i would spoon in the melted chocolate into a small sandwich bag, cut a tiny little slit in the corner and fill the mold, taking care not to overflow the button. hitting the mold lightly on the counter makes it lay perfectly flat. after my first "fill" i said "i think i found my calling" out loud. i was wrong. like most of my projects i got angry multiple times while doing it. i think if i had taken one whole saturday and knocked it all out i would have been much better...instead i strung it out over 4 or 5 evenings doing a little bit at a time...it felt like it took a lifetime to make a mountain of buttons...but i digress.
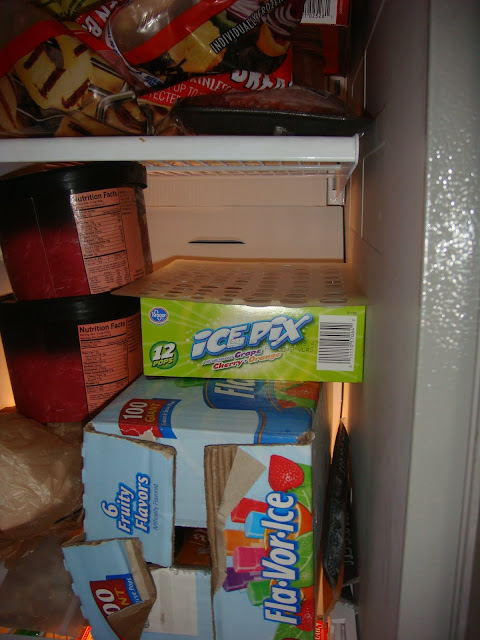
after filling the mold you stick it in the freezer. the woman's tutorial i was following mentioned some kind of warning about only leaving the mold in there for a minute or two so at first i was paranoid about living it too long. after a few tries though, i found that if i left it in 3 or 4 minutes instead my buttons popped out of the mold with much greater ease. there's the mold, above the ice pix and surrounded by ice cream. stop judging.
once you take them out of the freezer i had a paper plate ready. I just shook, twisted, banged and poked until each one was out. i did lose a few to over zealous shaking.
after becoming a master button-maker and completed my task i took my four plastic bags separated by color and made a little pow-wow on the kitchen table. i bought 3" X 4" plastic candy bags and took a few from each color until the bag looked full enough. i think i did about 10 of each color {so 40 buttons in all, some of them are very small}.
this next part was really fun...on the tutorial i was telling you about she had provided some {printable packaging} for free. there were 4 different options but the striped one was my favorite. i had a friend at work help me take off her original text and add my own to make it shower appropriate & applicable. her sizing didn't fit the smalles bag i could find so we made our slightly larger to fit our bags. they were printed on computer paper and my sweet friend holly cut them into little rectangles for me.
i simply folded the sides of the bag in slightly and folded the computer paper in half, stapled twice and wa-lah! how sweet are those sweets? i think the original tutorial's buttons look more like real-life buttons than mine do but i don't mind that mine look like chocolate...i love them anyway.
this may not have been the quickest or most effortless favor to create but i think that it was appreciated. since it made miss cory happy i think it is well worth the work! and they really were precious weren't they!?
me, cory & her buttons
.this is in black & white because i am so pale.
.sad.


Both of the projects you've posted for the shower are ADORABLE! I love them!
ReplyDeleteAdorable! Yours turned out great and I LOVE the color combo!
ReplyDeleteThey turned out so cute! I have been meaning to make some of the buttons to have around for decorating cupcakes and the like, but I haven't gotten around to it. I've used a few other molds that I bought though (cameos and skeleton keys). I end up with so many dirty bowls and spoons when I use them but they make the cutest things!
ReplyDeletethese were just the cutest things!! (people are still talking about them!) all your hard work definitely paid off!
ReplyDeletep.s. i look like a giant in that pic of us..sad
How cute, those turned out adorable!
ReplyDelete